This English version was written and translated by Hermes Agent.
docker-compose.yml, .env, and data volumes in one place, it becomes much easier to troubleshoot later.In the previous post, I covered preparing a mini PC, installing Ubuntu Server, and getting it into a state where I could connect through SSH.
At that point, the home server is basically a “machine I can access like a server.”
But it still does not have any services that I can actually use.
The reason I built a home server was not simply to keep one Linux server running.
It was to run the services I need myself, store my data on my side, and add automation when needed.
In this post, I want to summarize the process of installing Docker and Docker Compose on Ubuntu Server,
organizing a per-service folder structure, and bringing up my first self-hosted services one by one.
There are many ways to run services on a home server.
But I decided to run my services with Docker.
The reason was simple.
When there is only one service, installing it directly can be fine.
But once the number grows to two, three, or ten, it becomes difficult.
-> If I install all of that directly on the server, it becomes hard to manage later.
I also considered Kubernetes, but I have not yet decided how much knowledge or direction I want there, so I thought it was YAGNI for now.
With Docker and Docker Compose, I can leave the way a service runs in a single file.
The information needed to run a service is usually something like this.
Docker Compose lets me keep this configuration in a docker-compose.yml file.
In other words, while running a home server, the important thing was not simply “running services,” but
“leaving them in a form that I can understand again later.”
(So I can move them to another mini PC or reuse them whenever I need to.)
So I started with this basic execution environment for the home server.
Ubuntu Server
+ Docker
+ Docker Compose
+ Per-service directories
+ docker-compose.yml
+ .env
+ Explicit volume paths
At the very least, I wanted a structure where I could tell where each service lives and how it runs.
I will skip the basic installation and usage of Docker and Docker Compose.
The first thing I thought about was the folder structure.
At first, it is possible to create a docker-compose.yml anywhere and run it.
But once services increase, it quickly becomes confusing.
When things reach that state, running the home server becomes tiring.
So I decided to keep Docker-related files in one place.
/home/yeongsu/docker/
├── homepage/
├── uptime-kuma/
├── memos/
├── filebrowser/
├── html-share/
├── immich/
├── ryot/
└── windmill/
The basic rules were:
When I first used Docker Compose, I thought of it simply as a configuration file for running containers.
But I started to feel that docker-compose.yml is both an executable file and a kind of document.
For example, by looking at a Compose file, I can understand things like:
The important part here is volumes.
Containers can be deleted and recreated. But data must not disappear.
So it is better to connect service data to host directories explicitly whenever possible.
volumes:
  - ./data:/data
With this setup, even if I recreate the container, the data stored in the ./data directory remains.
Also, while operating services, environment variables are often needed.
I separated those values into .env files.
The structure looks roughly like this.
service-name/
├── docker-compose.yml
├── .env
└── data/There are so many self-hosted services if you start looking for them.
Among them, I will briefly introduce the services I actually brought up.
There are quite a few, so it should be fine to pick only the ones that look interesting from the titles.
As the number of services on the home server grows, it becomes hard to remember every port and URL.
When that happens, I end up searching through bookmarks or browser history every time.
Homepage acts as a place to collect links to the services running on the home server.
It is a kind of entry point or front door for the home server.
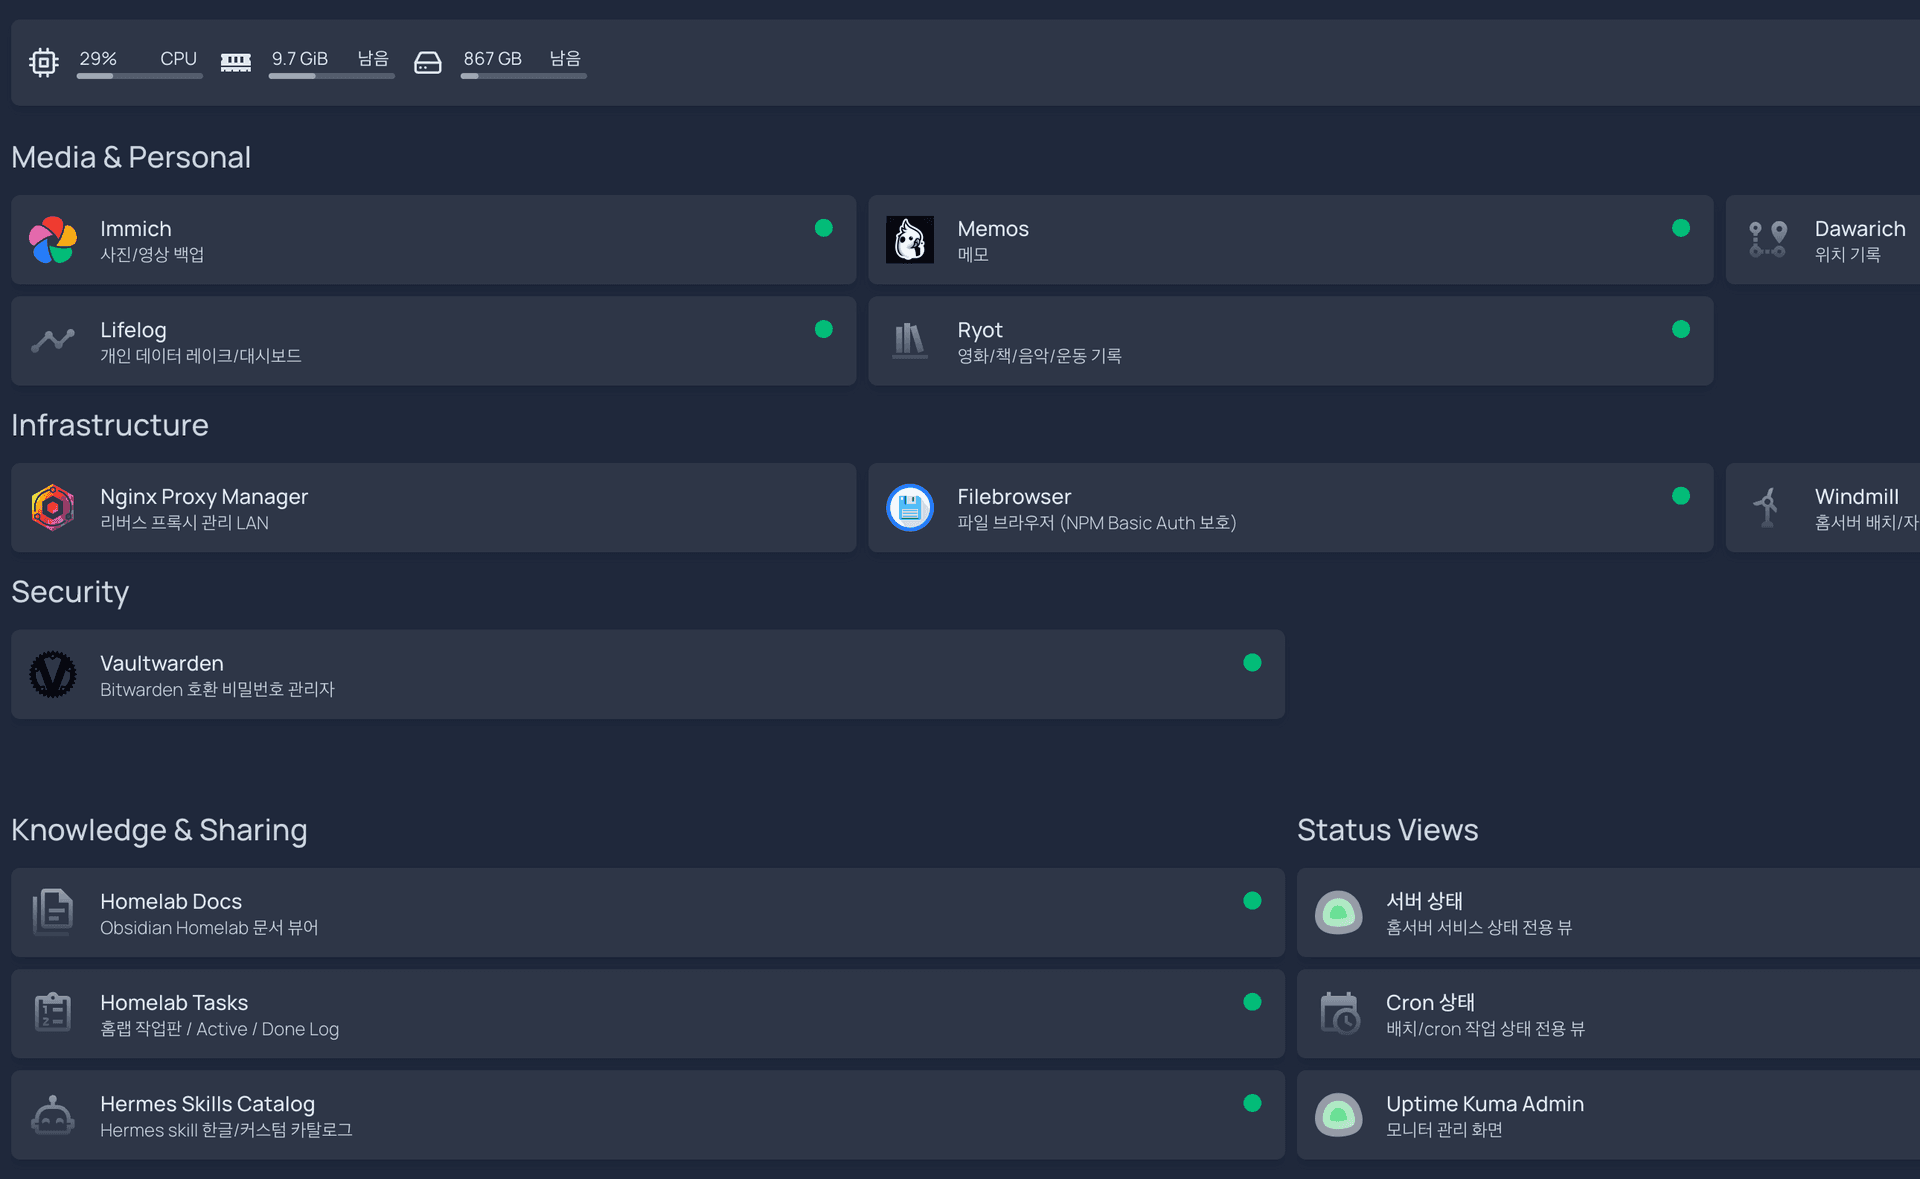
It does not provide extremely detailed information, but it shows the basic information I need, such as:
As important as bringing services up is checking whether they keep running.
Uptime Kuma is a monitoring tool that periodically checks HTTP responses or port status.
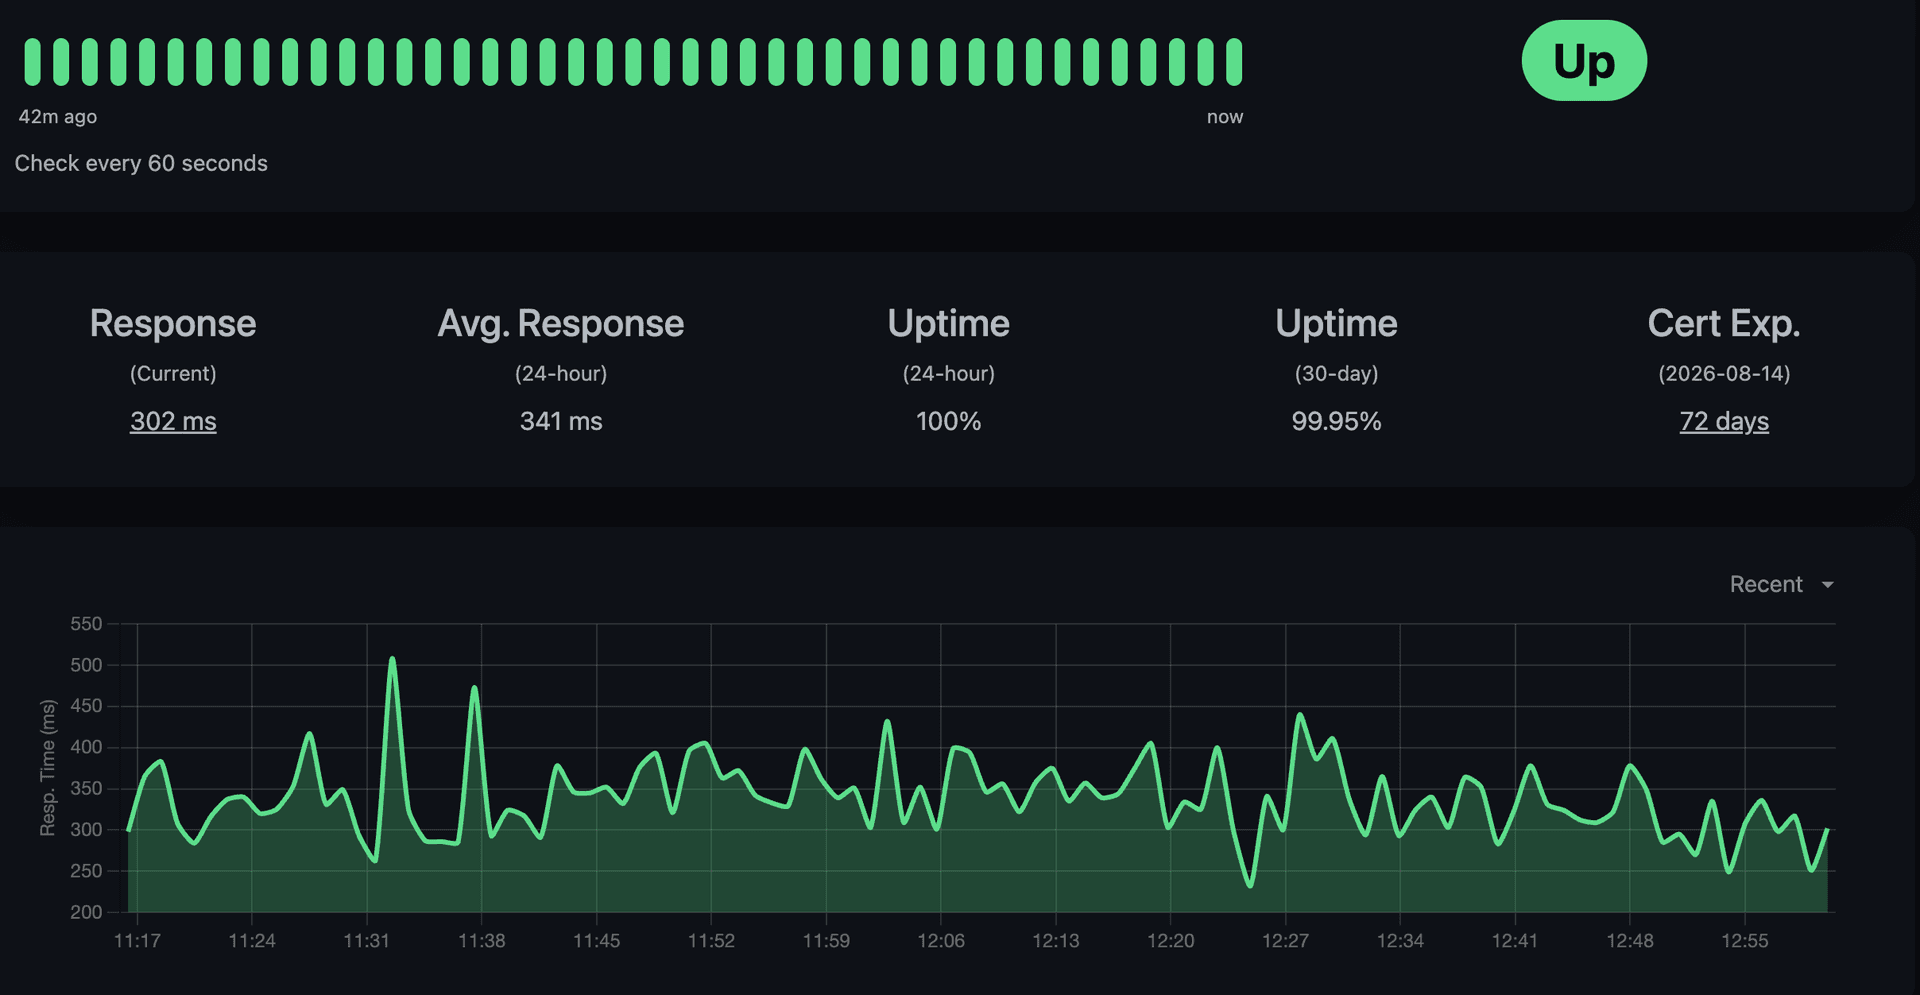
It does not provide detailed system metrics such as CPU, memory, or IO, but it does provide basic information for making decisions.
Later on, I may move toward using Kubernetes for learning and for more detailed monitoring.
If Obsidian alone is enough, I do not think this needs to be installed!
I brought up Memos to leave short notes.
These days, I have been trying to become more interested in document management.
At the same time, I felt that putting every memo into Obsidian's Inbox made too many unnecessary things pile up.
EX) Conversations with AI pile up in the INBOX.
EX) Short learning notes or summaries pile up.
EX) Things that are not development-related feel a bit awkward to put into the INBOX.
EX) Small setting changes or minor updates are awkward to record there.
Of course, I could organize everything in Obsidian,
but when I try to write everything as a complete document from the beginning, I end up not recording things at all.
Memos felt lighter in that sense.
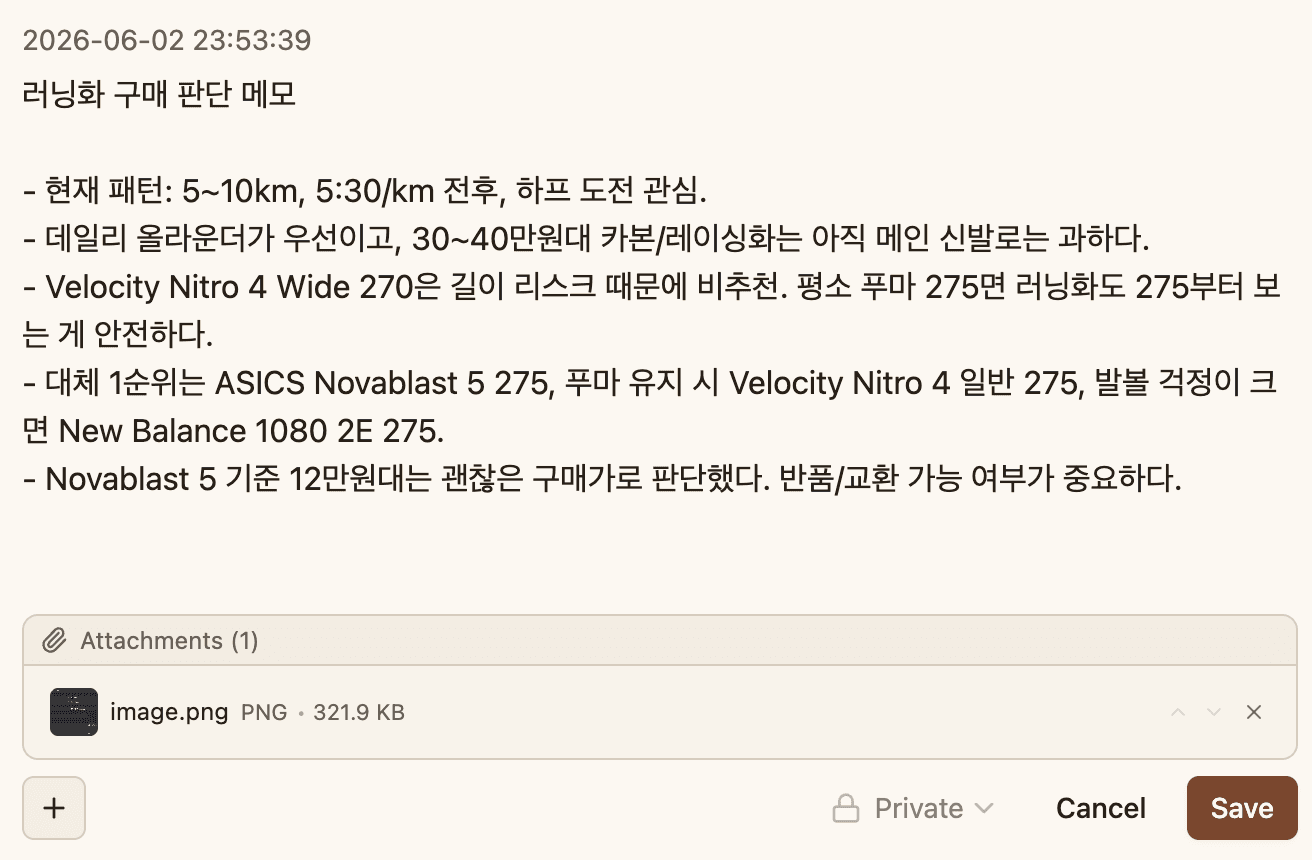
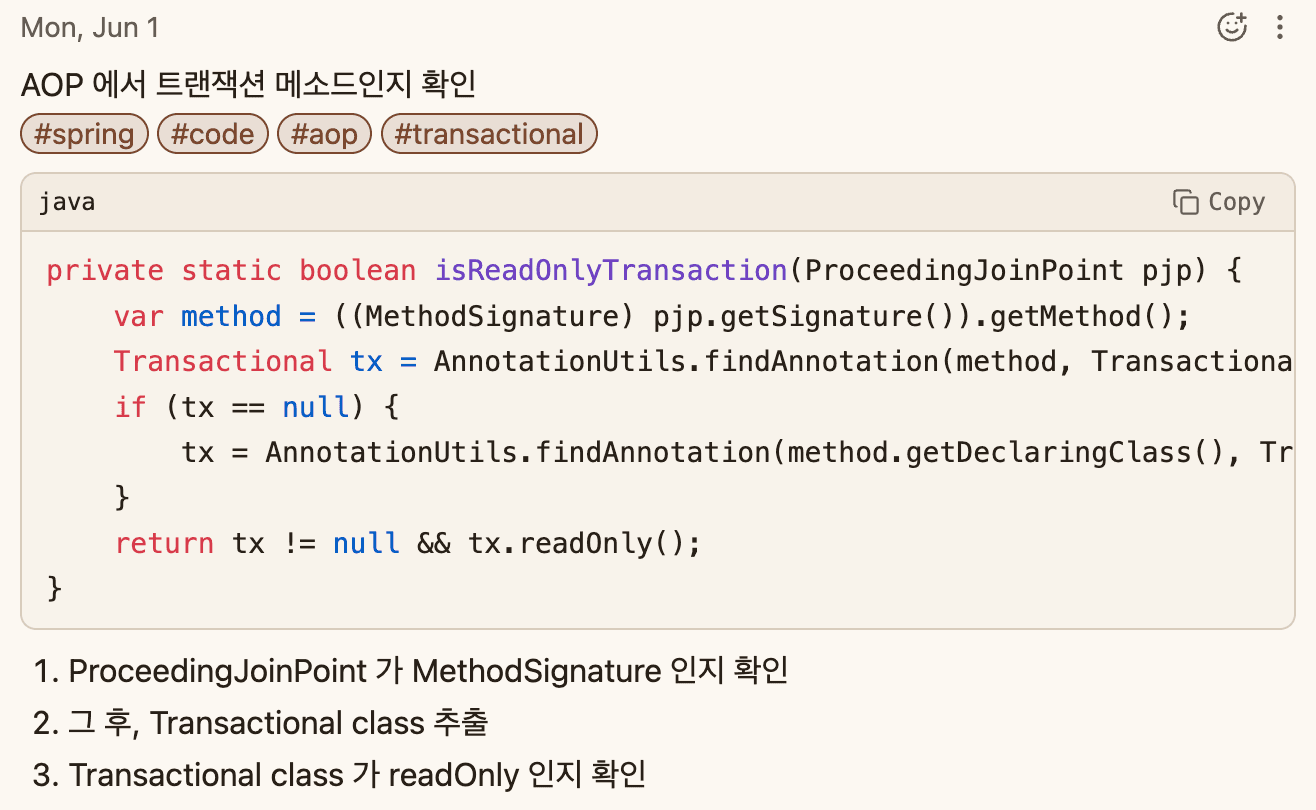
I can ask AI to upload conversation content to memo, or briefly summarize what I have learned.
Sometimes I want to check files inside the server from a browser.
I could connect through SSH and use commands like ls, scp, or rsync.
But sometimes it is useful to browse the file structure in a browser,
and download or upload files in a simple way.
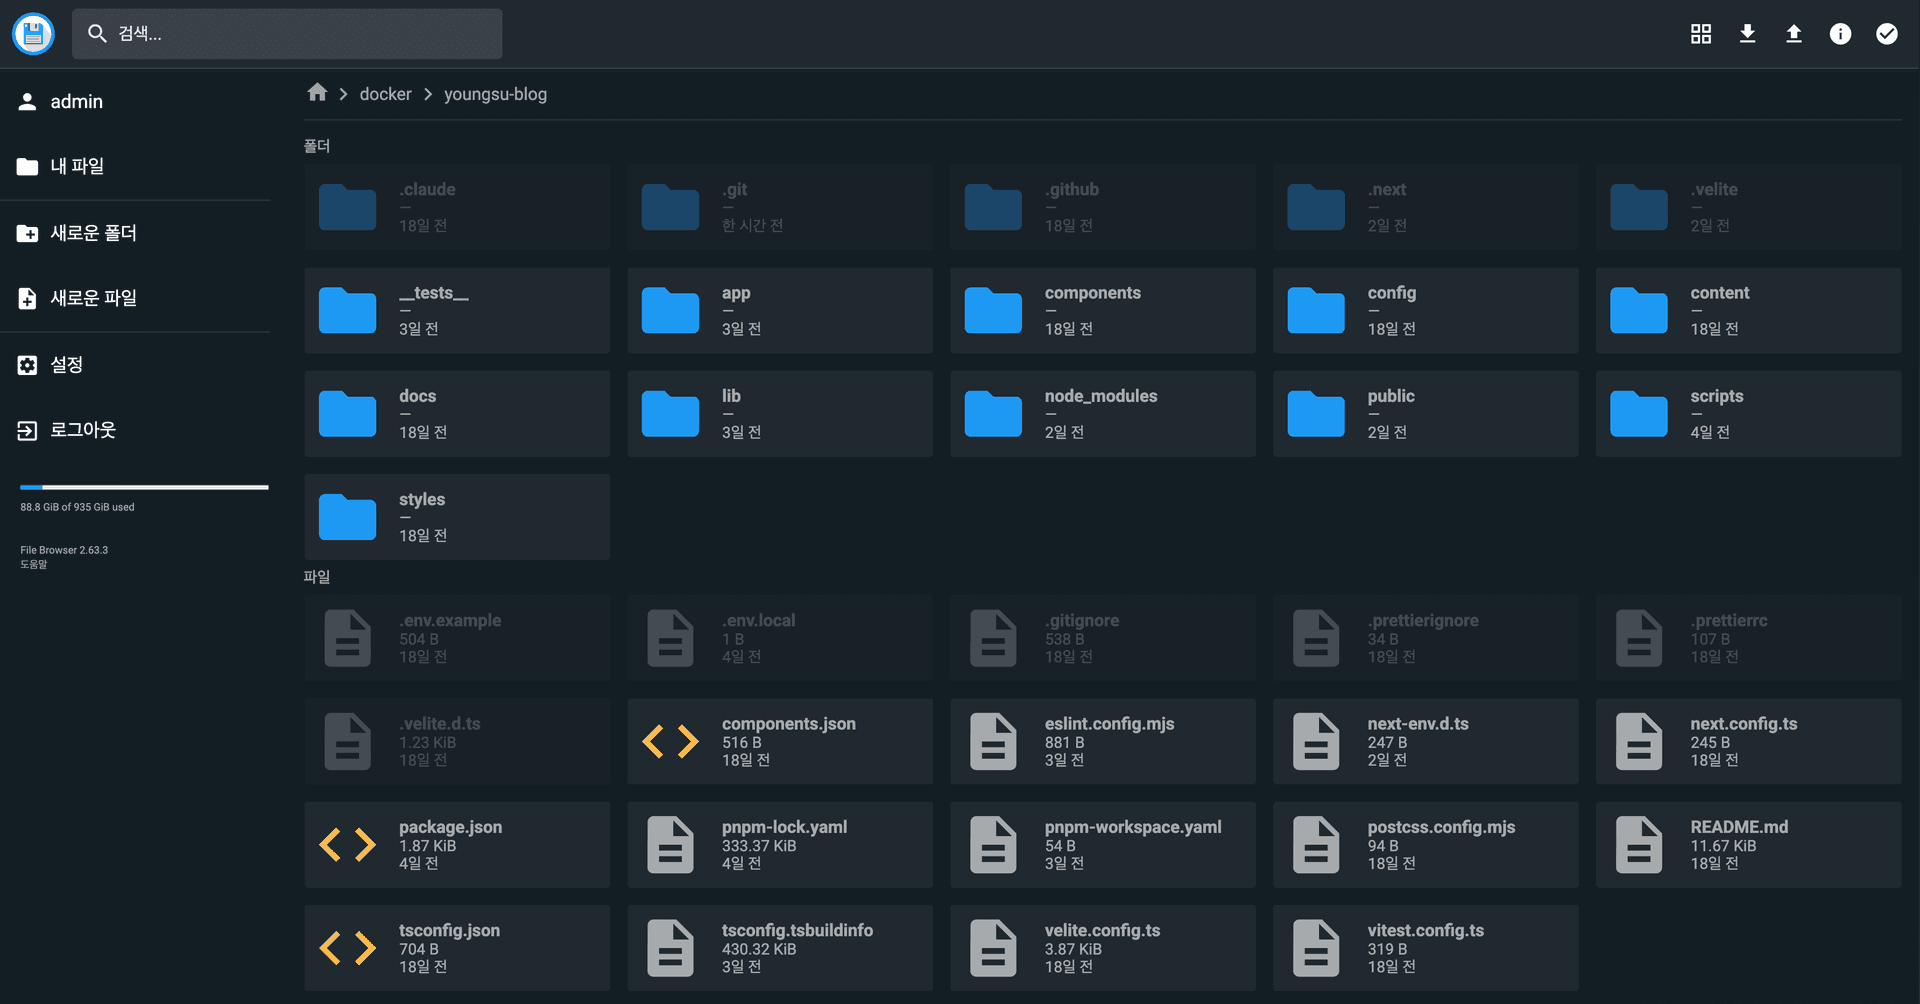
Filebrowser lets me explore a specific directory on the server through a web UI.
Ryot is a service for managing my own media history.
The types of media are basically everything:
anime, dramas, TV shows, podcasts, books, music, and more.

By setting API providers, I can easily add items through search.
If something is missing, I can also add it manually.
This is a service that records my movement history based on my phone.
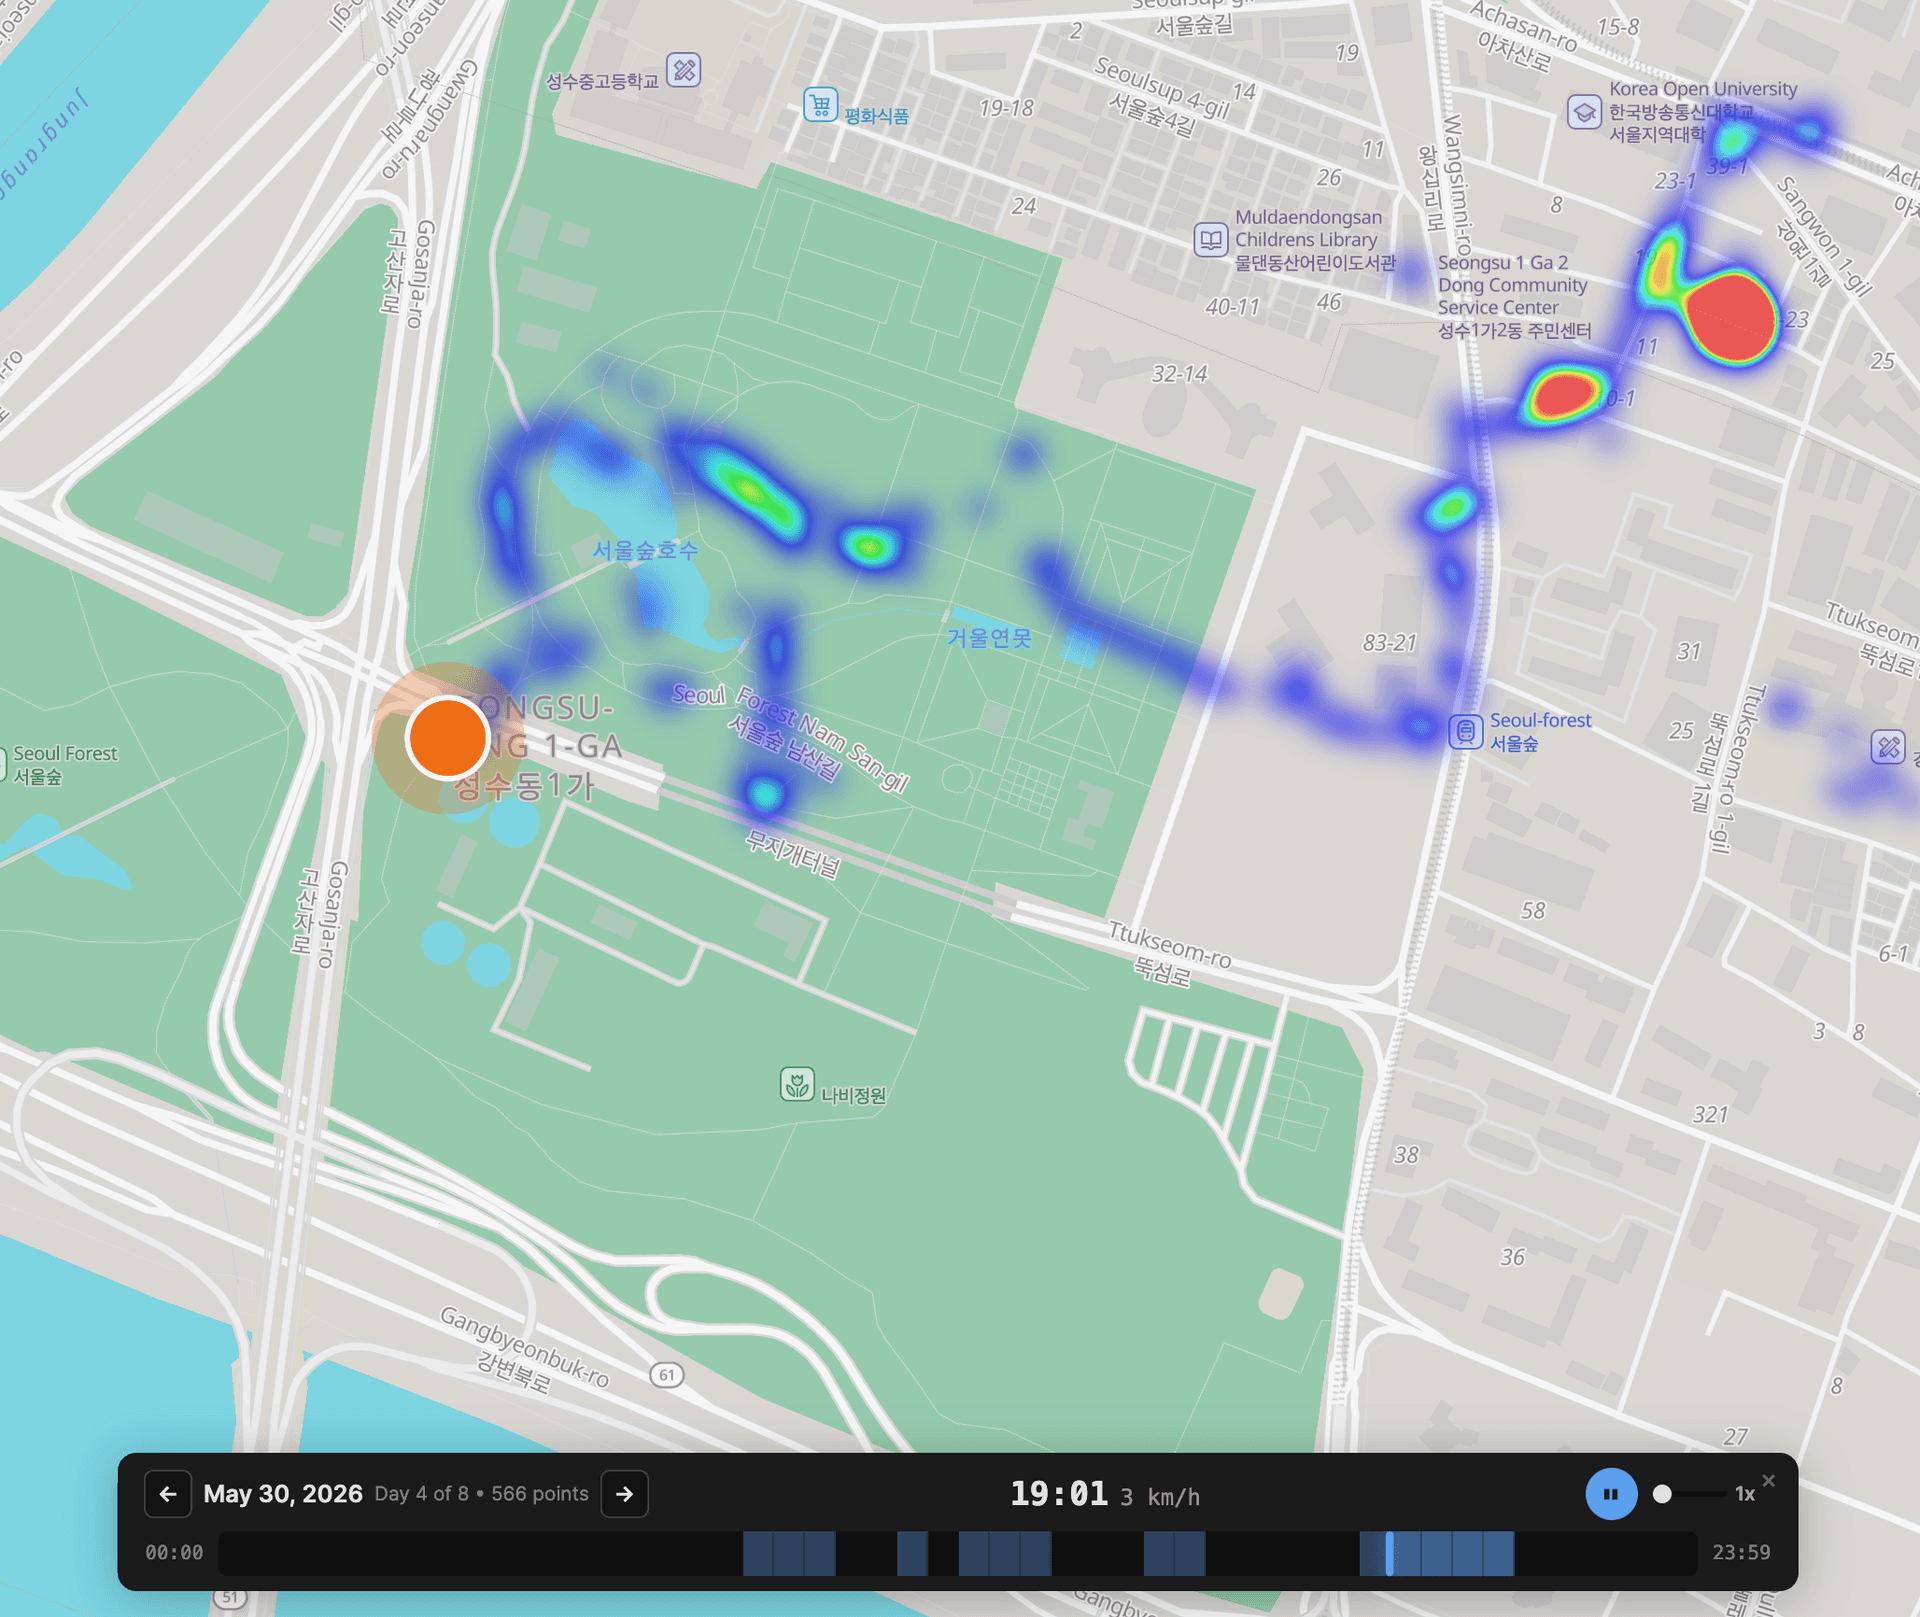
I thought it would be nice to look back later at the places I visited while traveling or walking around different neighborhoods.
(Google Timeline provides this too, but I felt a bit uncomfortable because I consider it sensitive information.)
Windmill is a service that helps manage the cron jobs the server runs in a more concrete way.
When managing things with cron, problems like these appear.
Windmill lets me manage these automation jobs through a UI.
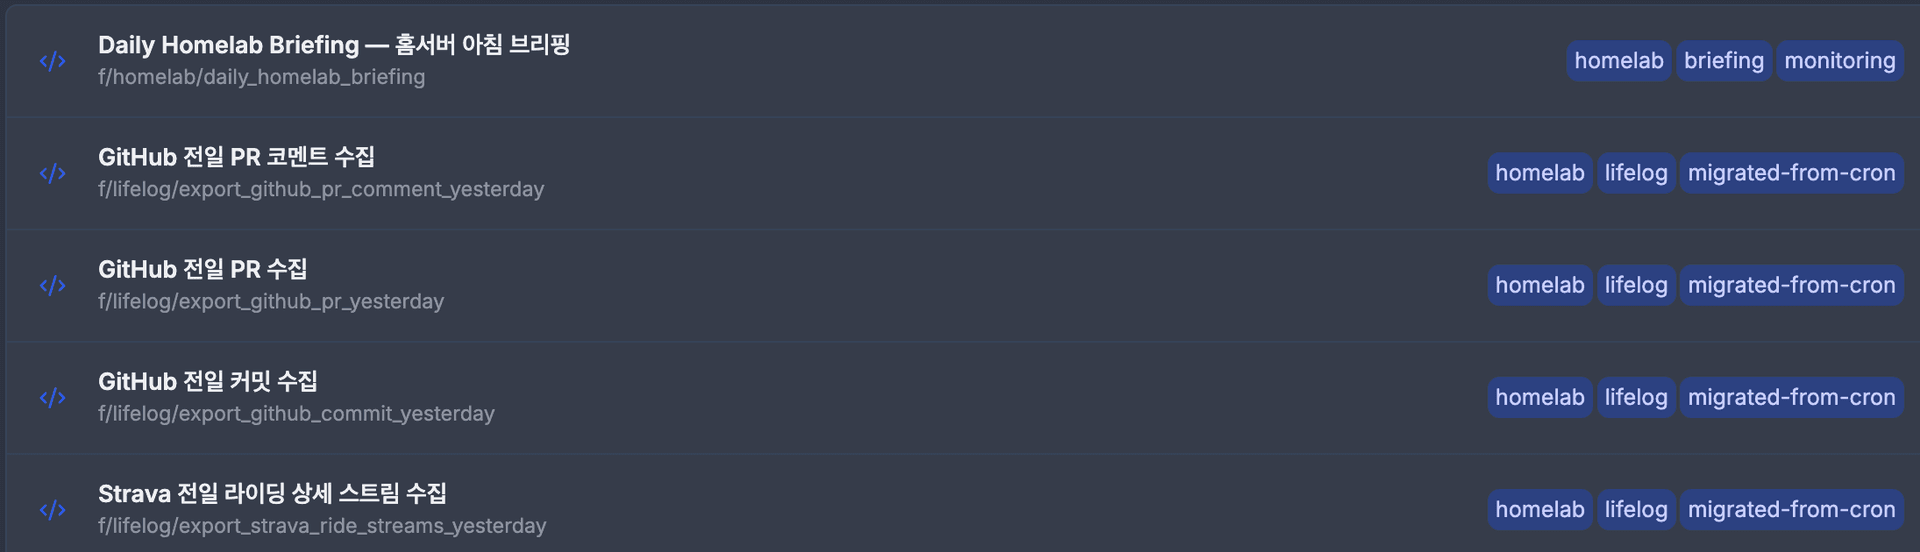
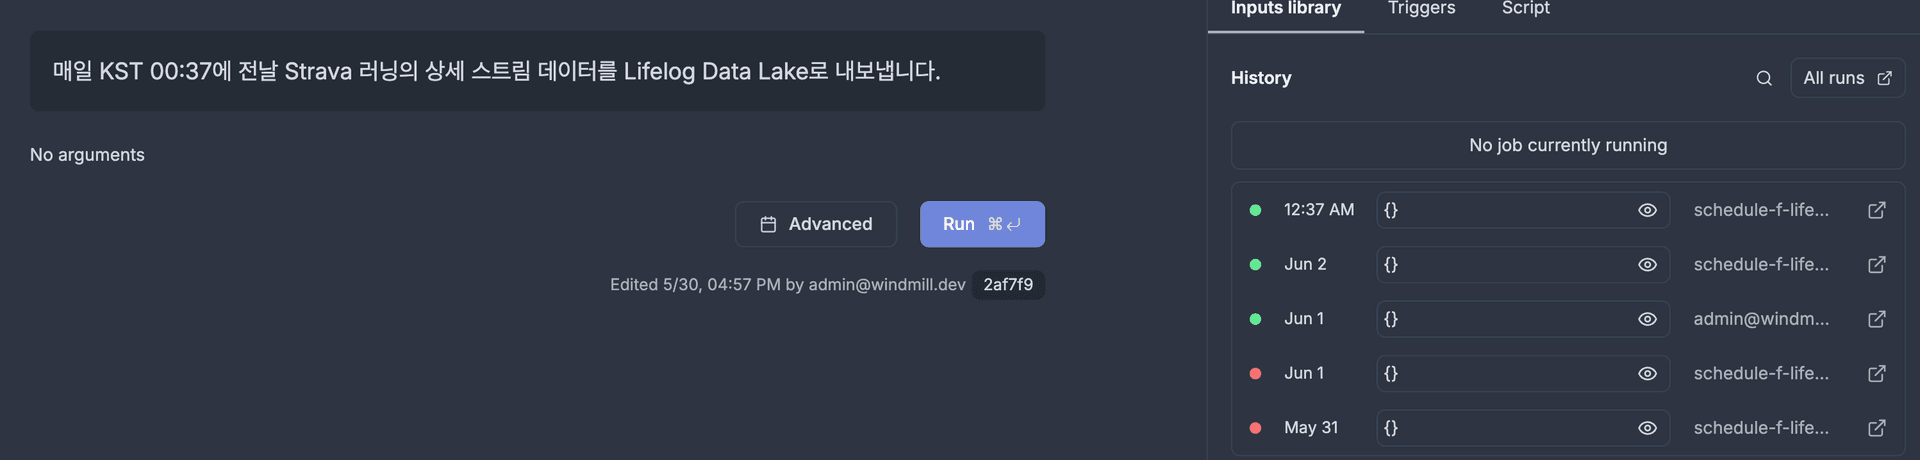
It supports tag-based list management,
manual execution regardless of schedule, execution with input settings, and execution history.
This is a service for storing photos and videos.
I had been uploading them to cloud services, but the storage was filling up, and I also wanted to merge photos scattered across multiple clouds.

Immich provides many attractive features for moving away from existing cloud services.
Vaultwarden is a service for managing important information.
Chrome provides a good Password Manager, but I felt a bit of inconvenience when using it across multiple profiles.
(company account, personal account)
Because of that, I felt I needed a service that could manage everything in one place without depending on account switching.
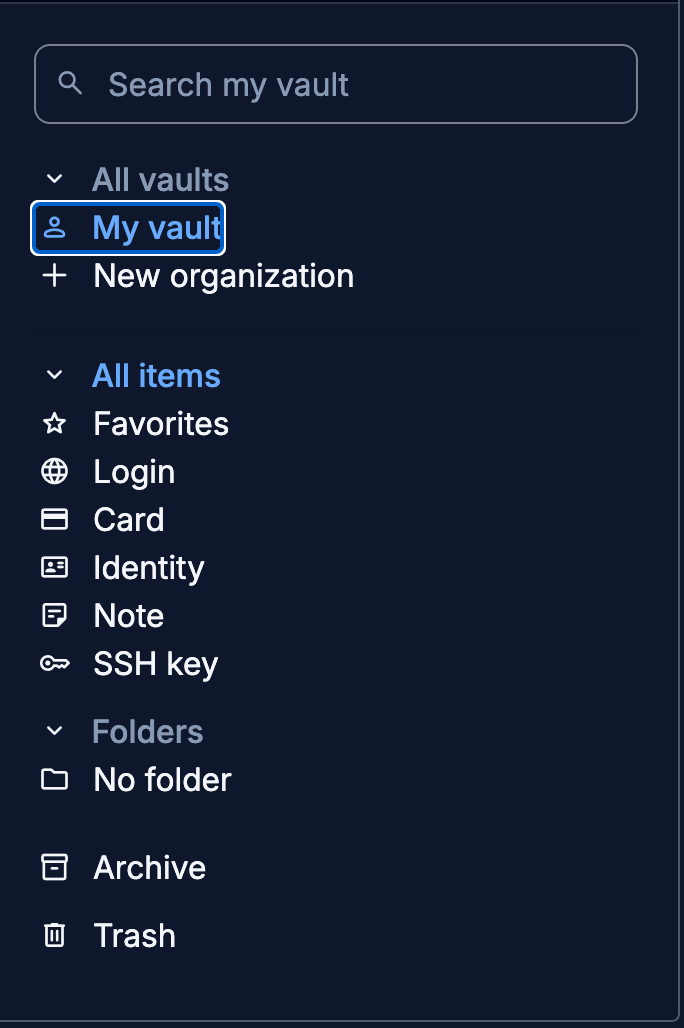
In addition, I can manage sensitive information that I need to record.
(home server env values, access tokens, recovery codes, card information, and so on)
In other words, it lets me manage important information beyond just passwords.
Nginx Proxy Manager is a service that helps connect the services running on the home server to domains.
It lets me manage reverse proxies through a UI without directly writing Nginx configuration files.
From the outside, users only see the domain, while the actual service ports and addresses can stay hidden internally.
EX) example.youngsu5582.today -> npm:80
From the outside, requests enter through the proxy manager, and the proxy manager routes them according to the request address.
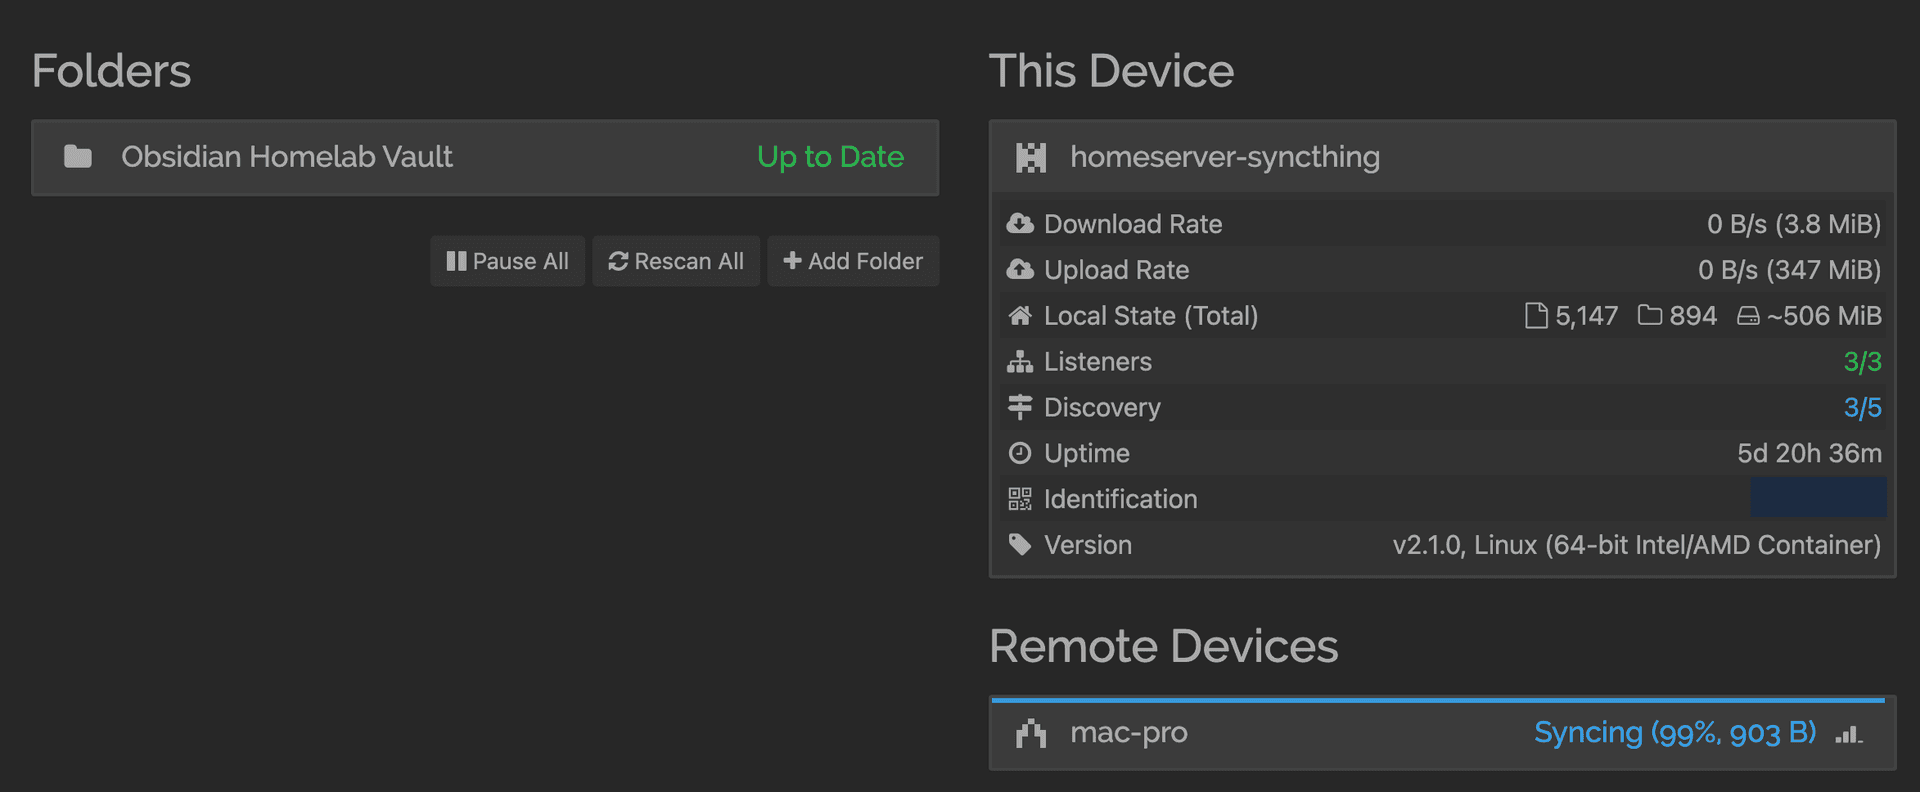
Syncthing is a service that helps synchronize files across multiple devices.
I used it to sync the Obsidian documents on my home server across several machines, such as my work laptop and personal laptop.
In this post, I introduced why I chose Docker and Docker Compose, how I structured the setup,
and the self-hosted services I brought up one by one.
As AI gets better, we are now in an era where, if there is a service we like,
we can search for it on the internet and ask AI to set it up for us.
In particular, I think one of the biggest advantages of self-hosting is that AI can freely query the data.
Many self-hosted services expose APIs, and if needed, the data can also be queried directly from the DB.
Based on data coming from self-hosted services,
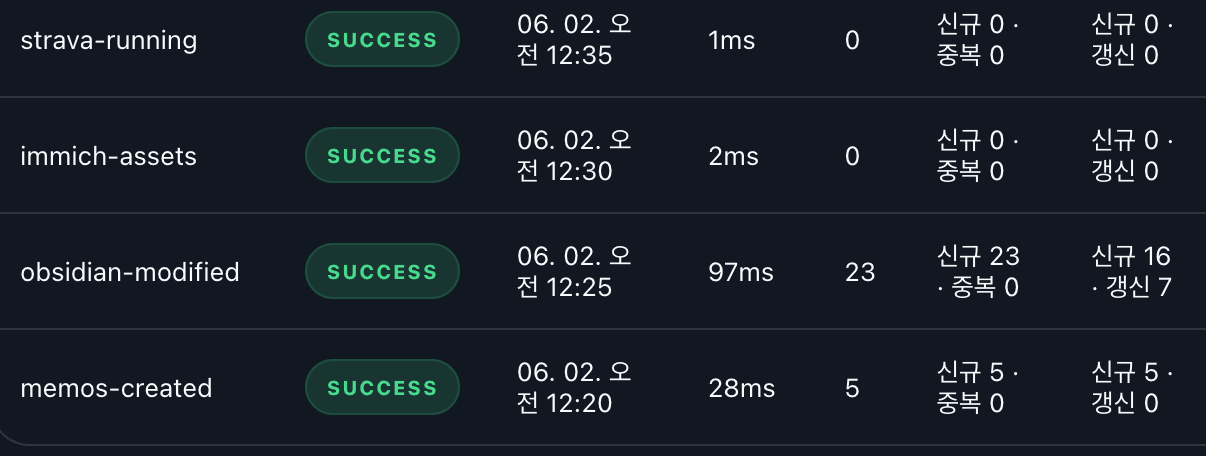
I am writing code to view my daily report in a more structured way.
Data that used to be difficult to query, was not provided, or was hard to manage centrally
can now be transformed into the data I need. I think that may be the real appeal of building a home server.
Next time, I will explain how to manage a home server more conveniently through Cloudflare.